High Country Baking: Easy lemon-berry tartlets

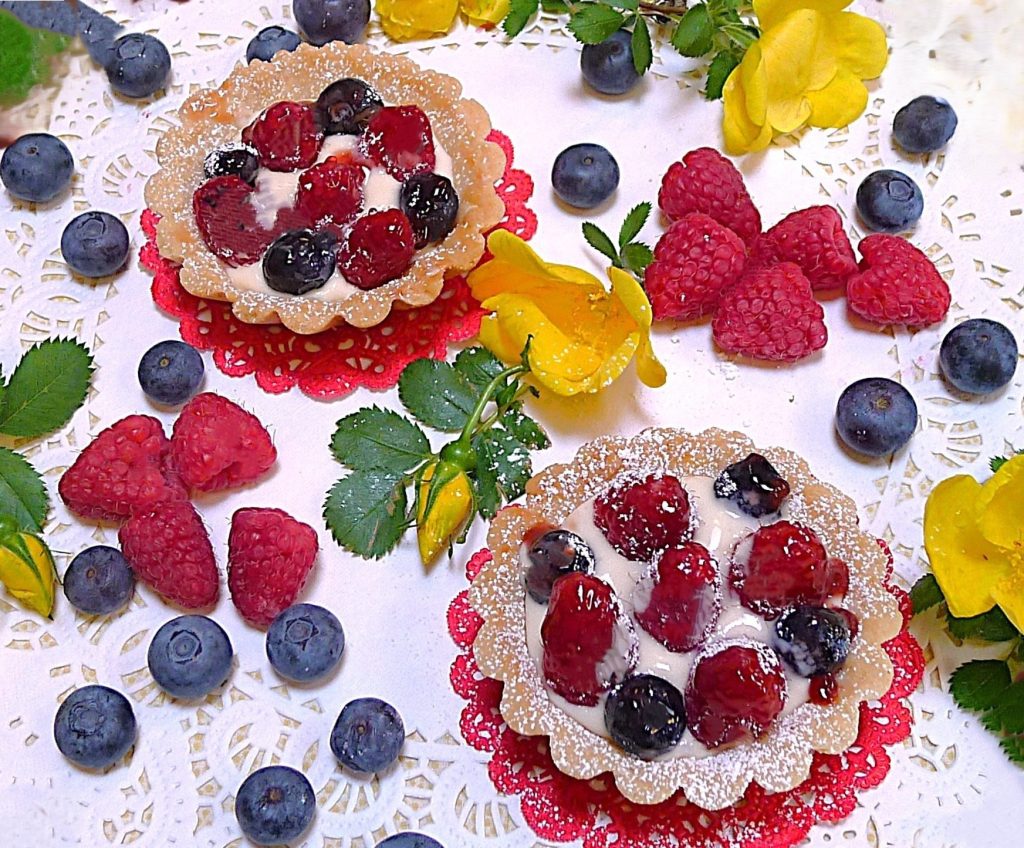
Vera Dawson/Courtesy photo
High altitudes make cookies spread in the pan, cakes fall, and few baked goods turn out as they do at sea level. This twice-monthly column presents recipes and tips that make baking in the mountains successful.
These tartlets are a true joy. They elevate any meal, from a picnic to a celebratory dinner and appeal to diners of all ages and sophistication levels. With a tender crust, creamy lemon filling, and a topping of fresh berries, they’re a true culinary classic. This recipe, a result of numerous revisions, is my current favorite. I use an easy-to-prepare tartlet shell and a stellar lemon filling with ingredients that are simply whisked together, eliminating the fussy preparation of custards, frequently used as tart fillings. Though the recipe calls for lemon curd, you needn’t make it, a high-quality commercial one works well. And you can successfully substitute prebaked commercial tart shells for my homemade ones. If you use commercial shells, skip my directions for preparing them and start with the recipe section entitled “Make the filling.”
Easy lemon-berry tartlets
Prepare in metal tartlet pans, 3-inches across and 1-inch deep. Yields four, and Recipe can be doubled and tripled.
Homemade or commercial pre-baked tartlet shells
Homemade Tartlet Shells
- 1 cup all-purpose flour (spoon and level)
- 3 tablespoons superfine granulated sugar, preferably Baker’s
- 1/8 teaspoon salt
- 6 tablespoons unsalted butter, cold, preferably frozen
- 1/2 teaspoon vanilla extract
- 1-2 teaspoons ice water
Filling
- 6 ounces full fat cream cheese, softened
- 4-6 tablespoons confectioners’ sugar
- 3-4 tablespoons lemon curd
- 1/2 teaspoon vanilla extract
- 1 tablespoon whipping cream, optional
Topping
- Generous cup of fresh berries
- 1 1/2 tablespoons seedless raspberry preserves, optional
Make the shells: Put the flour, sugar and salt in the bowl of a food processor and process until well-blended. Cut the cold butter into 12 pieces and add it to the bowl with the vanilla. Pulse until mixture looks like a coarse meal. Add the smaller amount of ice water and pulse again. Continue adding ice water, a little at a time, until all the flour is moistened and forms pea-sized clumps. Too much water will create a hard crust, so add it cautiously. Turn the dough out onto a sheet of parchment or waxed paper, gently knead it a few times and form it into a thick disc, cover and refrigerate until firm, but not hard.
Roll dough, put in pans: Preheat the oven to 375 degrees, with a rack in the center position. Lightly grease your tartlet pans. Roll the chilled dough to a 1/8-inch thickness and cut out circles about 4 1/2-inches in diameter. Gather scraps and re-roll to make a total of 4 circles. Fit them into tartlet pans, place them on a baking sheet and freeze or refrigerate until the dough is quite firm.
Bake and cool: Prick the bottoms of the tart shells in several places with a toothpick to let air escape as they bake. Bake until light golden, for about 15 minutes, pricking again with a toothpick where the pastry has puffed. Remove to a rack to cool. While it is still warm, gently press down any additional raised spots that formed while baking. When almost cool remove the shells from the tartlet pans (hold pan upside down and gently squeeze the sides of the rim until the baked shell pops out) and allow it to cool completely. At this point you may freeze the shells, well covered, for a month.
Make the filling: Cut the cream cheese into 12 pieces, place them in a small mixing bowl with 4 tablespoons of sugar and beat with an electric mixer at medium speed until smooth. Don’t overbeat or the cream cheese may thin out and get watery. Add 3 tablespoons of lemon curd and the vanilla and beat again until they’re blended. Give it a taste, add more sugar and/or curd if desired. You want a filling that’s lush and creamy while still solid enough to support the berries. It will firm up as it chills but, if it’s stiff, beat in the whipping cream, a little at a time, until it reaches a proper consistency.
Fill the shells: Divide the filling evenly between the cooled tartlet shells, filling them to no more than 1/4-inch from the top. Chill the tarts, covered, for at least 2 hours so the filling firms up.
Add the berries: Top each tartlet with berries. If you want them to shine, thin the preserves with a little water and gently brush the mixture over the berries. Refrigerate the tartlets if you’re not serving them immediately.
Store: Covered, the tartlets can be refrigerated for up to two days.
Editor’s note: The shell recipe is a variation of one from The Baker’s Dozen Cookbook.
Vera Dawson’s column “High Country Baking” publishes biweekly in the Summit Daily News. Dawson is a high-elevation baking instructor and author of three high-altitude cookbooks. Her recipes have been tested in her kitchen in Frisco, where she’s lived since 1991, and altered until they work at elevation. Contact her at veradawson1@gmail.com.


Support Local Journalism
Support Local Journalism
As a Summit Daily News reader, you make our work possible.
Summit Daily is embarking on a multiyear project to digitize its archives going back to 1989 and make them available to the public in partnership with the Colorado Historic Newspapers Collection. The full project is expected to cost about $165,000. All donations made in 2023 will go directly toward this project.
Every contribution, no matter the size, will make a difference.